This chapter describes settings that are a required for using the budget and costs features. General information about budget & costs can be read in chapter Budget & costs.
General
In the budget and cost module, the distribution of budgets, expenses and actual costs is divided into read and write rights. Further information on assigned roles and rights is given in chapter Teams and user rights (administrators & moderators). The list of all roles and rights can be found in chapter Rights & roles overview.
Before you use the MARMIND® budget and cost module, you need to define certain master data in the settings.
There click in the navigation tree under Administration to open the workspace of the required client:
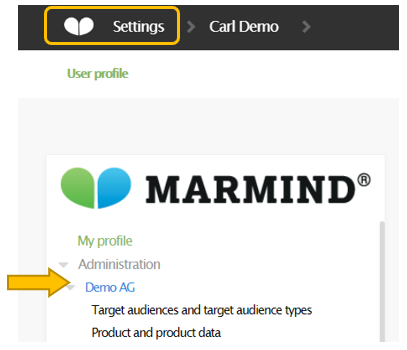
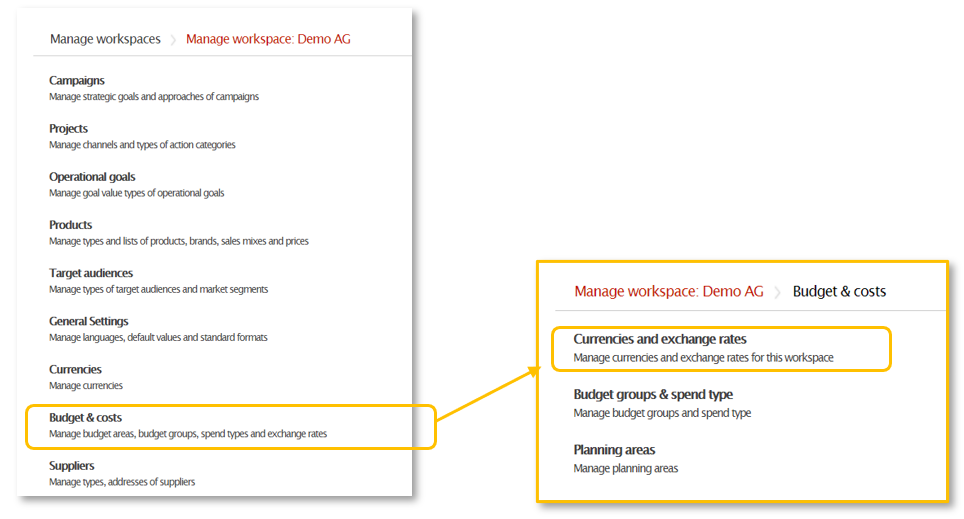
The admin area "Manage workspace " opens. To set up budget and costs, select "Budget & Costs".
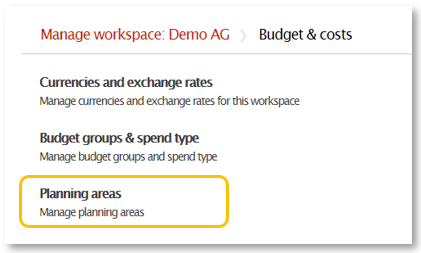
There are three subsections:
- Currencies and exchange rates (To the area “Manage currencies“ you also get via the main menu „Currencies“)
- Budget groups & spend type
- Planning areas
Important note
Before you can build your budget and cost structure, you must define a key currency. First, go to Currencies & exchange rates.
Currencies & exchange rates
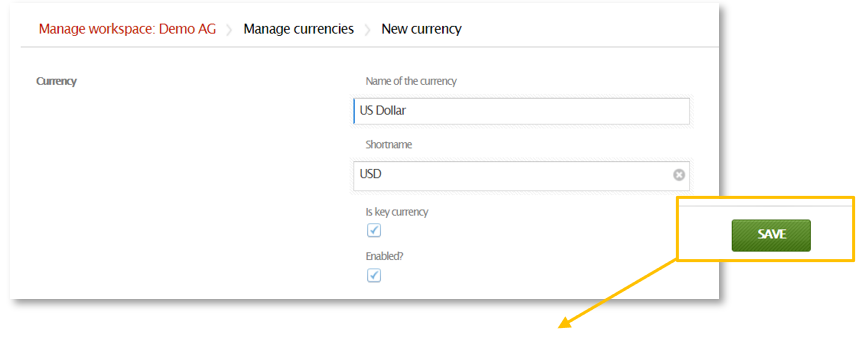
First of all, you have to create a new currency and define it as the key currency. Go to the menu "Currencies & exchange rates" and click on "New currency" in the top right corner under "NEXT STEPS".
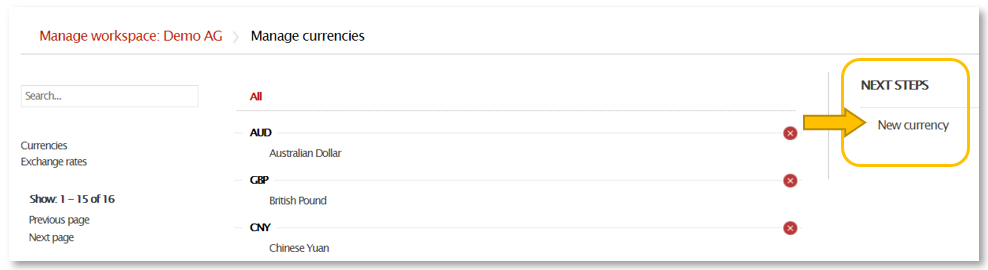
MARMIND® also requires the currencies name and short name from you. By activating the checkboxes "Key currency" and "Enabled?" (check mark) you have defined the key currency. Click on "Save", to unlock them for use in the Budget and Cost module.
Important Note
If budget data has already been integrated into MARMIND® in a specific currency, the key currency cannot be changed afterwards. Only one key currency can be defined per client.
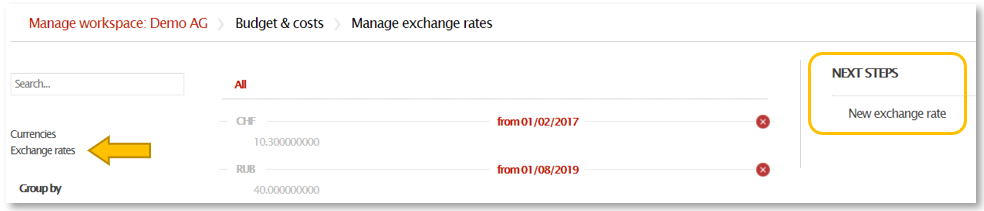
If you need more than one currency, MARMIND® offers you the possibility to maintain exchange rates. In the section "Manage currencies", click on "Exchange rates" in the top left corner. The entered exchange rate then refers to the key currency you have defined.
Budget groups & spend type
In order to use the MARMIND® budget and cost module, it is necessary to create a cross-campaign cost structure and budget groups.
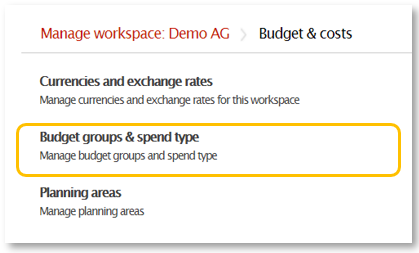
Budget groups form the planning unit for distributing the budget within campaigns. In the workspace among "Budget & costs", click on "Budget groups & spend type".
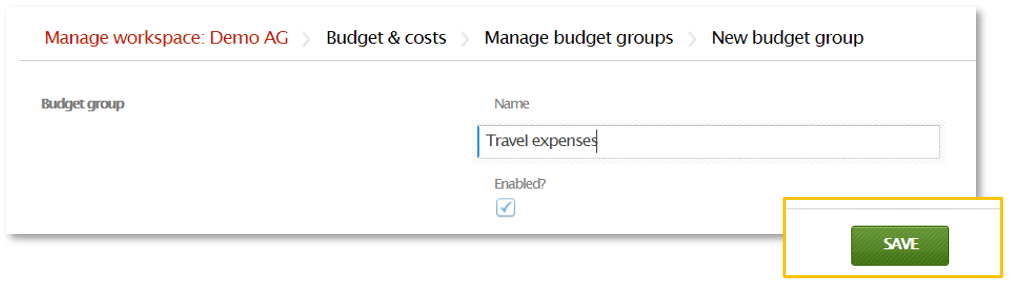
The following view shows you the budget groups (broadcasting, events, online, print) maintained in advance in MARMIND®. Click on "New budget group" among "NEXT STEPS" in the top right corner to add a new budget group.
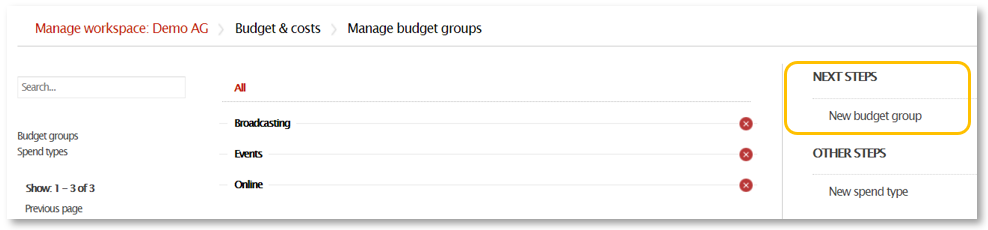
Enter a name and activate the checkbox "Enabled?" to release the budget group for budget planning. And of course - do not forget to click save!
The so-called spend types, which you can manage in the "Budget & Costs" workspace under "Budget groups & spend types" on the left by clicking on "Spend types", are used to subdivide budget groups.
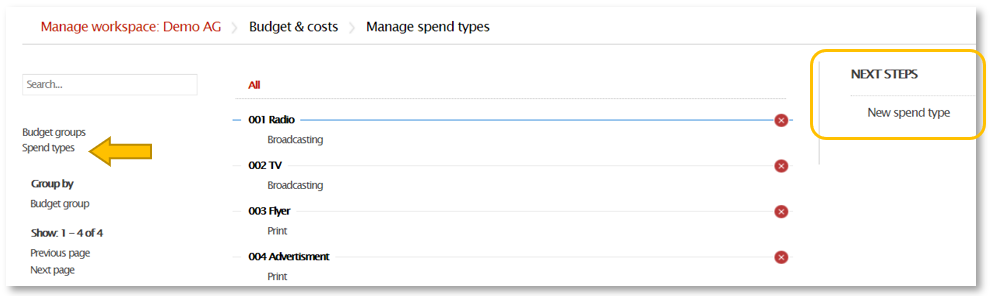
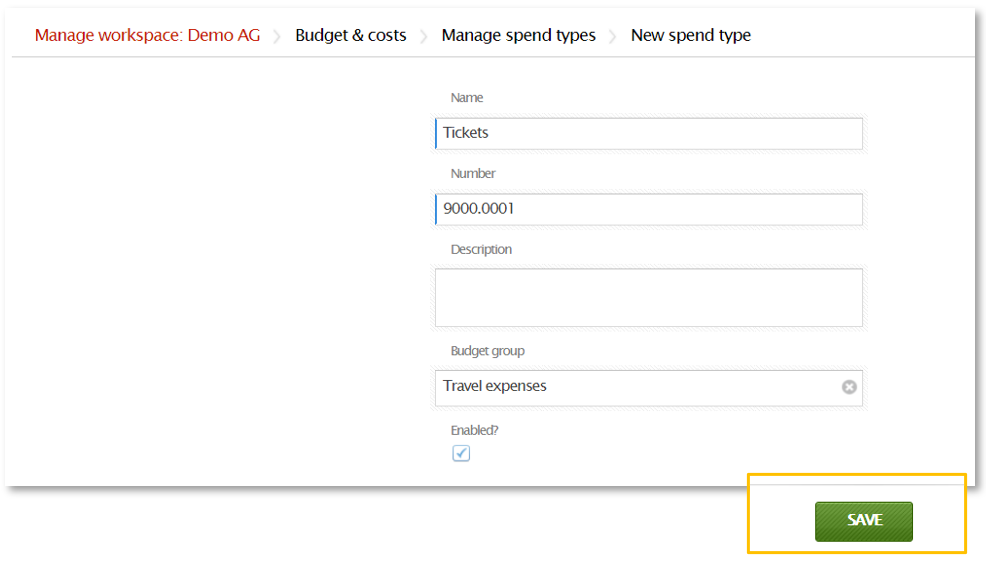
At "NEXT STEPS" at the top right corner, you can create new spend types and assign them to a budget group.
Tip
To follow the MARMIND® import standard, the “number“ should be composed of the ID of the budget group and the ID of the spend type:
[ID budget group].[ID spend type]
Planning areas
Furthermore, at least one planning area is necessary to use the budget and cost module. You can find this option in the work area "Budget & costs" under "Planning areas".
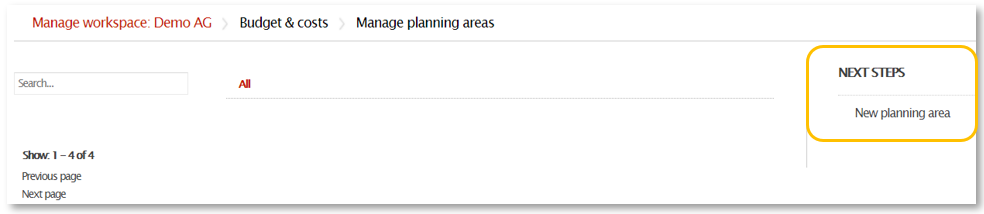
By clicking on "New planning area" in the upper right corner, a new mask opens in which you can choose from the following:
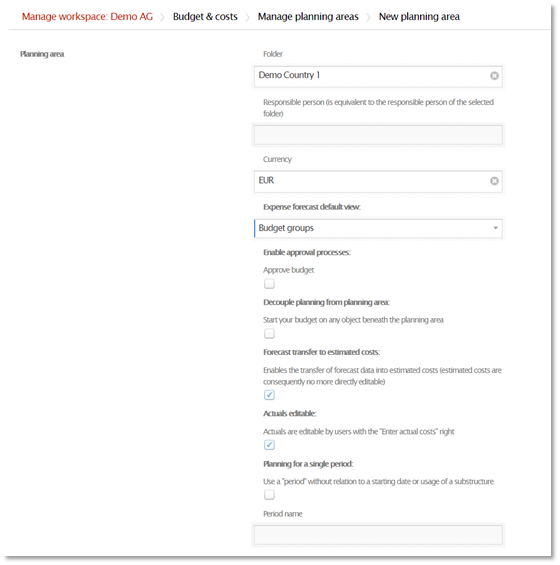
As a "folder", you define the work space for which the new planning area should apply. In addition, the currency can be defined for your planning and the expense forecast default view (budget groups or tree view).
The checkboxes:
- Enable approval processes:
Should a workflow be used to approve budgets? (This can also be activated later, if necessary.)
- Decouple planning from planning area:
Do you want to plan the budget restrictively and cumulatively top-down in your campaign structure, or should individual MARMIND® objects be planned independently at any level in the campaign structure?
- Forecast transfer to estimated costs:
Allows the forecast values (total of planned and promised expenses, as well as actual costs) to be transferred to "estimated costs". This serves the purpose of being able to view the original forecast values during and after the planning period and to be able to evaluate them in comparison with actual expenses. After all, the original forecast values are gradually replaced by actual expenses during the year. More details can be found in the example given later in part III, chapter 10.2 Record expenses.
- Actuals editable:
If you do not want to import actual costs, but want to enter them manually, you need this function.
- Planning for a single period:
Do you want to plan your budget for the shared area in a single period? Totals are grouped into this period (and not split into years or quarters).
Planning period
As a next step you have to create a "planning period" for your planning area by clicking on the top right.
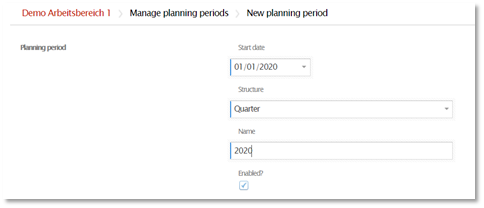
In it you define the start date, the structure and the name of the planning period - with the following restrictions:
- You can only select the first of each quarter as the start date.
- MARMIND® currently supports three variants when structuring the planning period:
- Year
- Halfyear
- Quarter
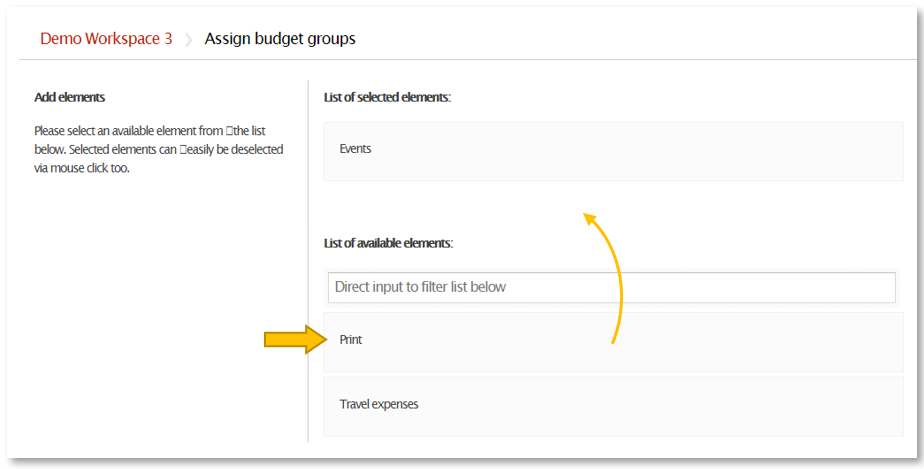
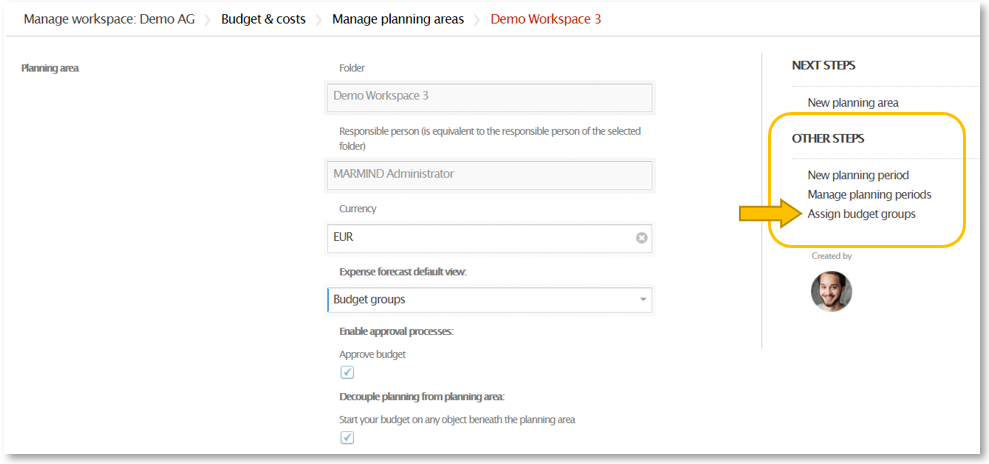
Assign budget groups
After defining budget groups and spend types, and after creating a planning period, the last administrator step is to assign the budget groups to your new planning area.
In the workspace under the section "Budget & Costs" in your newly created planning area, click on "Assign budget groups" in the top right-hand corner (under "NEXT STEPS").
In the following mask, by clicking on the individual budget groups you can individually assign them to your planning area: